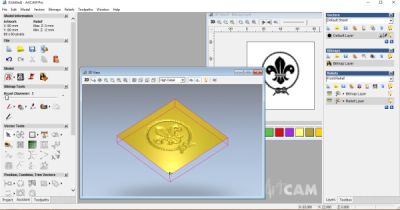
ArtCAM
The version og ArtCAM delivered with the router, is an older version, from before the program was acquired by AutoCAD. The supplied manual does not quite fit, with the supplied version. But if you look at the pictures, and try your hand at it, it is possible to make CAD and image files into files you can mill into motifs in the included GBRLcontrol.
A small challenge is that via a word processing program, for example notepad. Need to correct some G-code commands so the router can understand the files.
 Back to software
Guide:
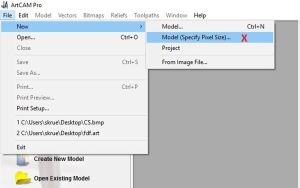
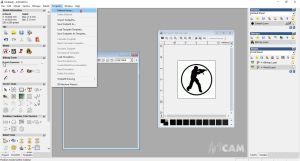
Select [File] -> [New] -> [Model (Specify pixel size...)]

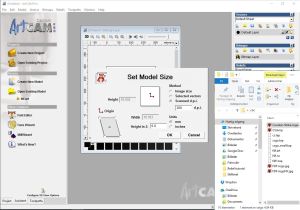
Choose edge size, in the example I choose 40 x 40 I have come to the conclusion that 1 pixel corresponds to 1 mm, ie. 40mm x 40mm
Note that in my example, my plate can be at most 100mm x 160mm
To rim, this is most easily dragged from the path finder, into the 2D image marks the middle dot in the image.
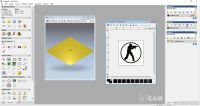
Select [Create Relief from image], under the menu [Bitmaps] in the right side
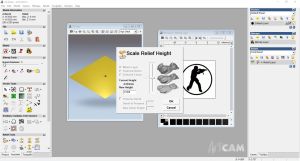
Select depth on Relief
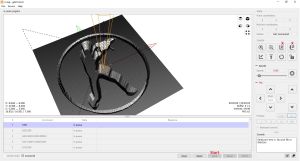
Select [Toolpaths] -> [Material setup]
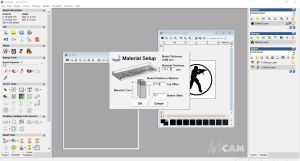
Select the subject's target and position of the subject with the slider (Select at the top, 0.0 in top offset)
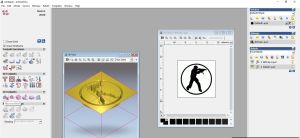
Switch to the [toolpaths] tab on the left side, bottom and select [Machine Relief]
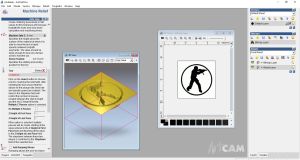
The tab [toolpaths], under the item Tool, indicates the tool that is mounted in the spindle when you press [Select ...]
,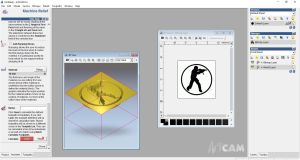
The [toolpaths] tab at the bottom, press [Now] to make the program generate a route, ie. how the CNC router converts the image into a file that the CNC cutter can read.
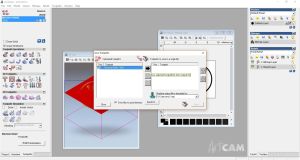
Press the black arrow to select the program to be browsed.
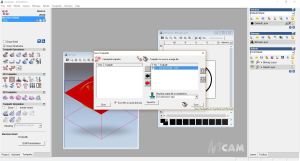
Select the file type for: [G-Code (mm) (* .tap)] and press [Save] to save.
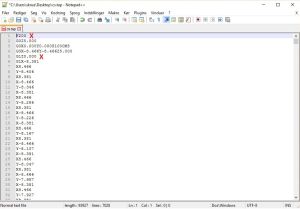
The saved file must be further processed in a text program.
Line 1: the text T1M6 is deleted and replaced with F200
Line 5: F300 is removed from the line
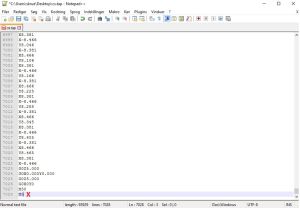
After the last line with the code M30, a line with the code M5 is added.
The file can now be loaded into GBRLcontrol and can be executed, remember to reset the X, Y and Z axes before pressing start.